OpenVPN Installation - Windows 7 and Windows 10
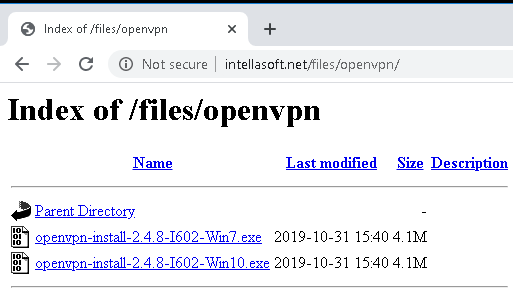
Step 1
2) Select the installer for your system (Win7 or Win10)
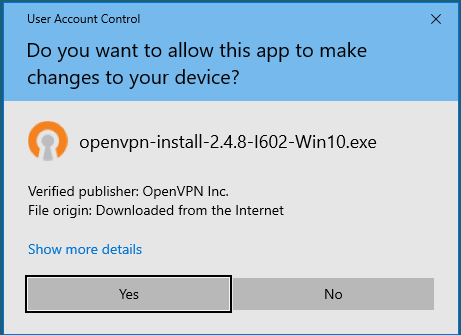
Step 2
1) Run the installer
2) Accept the system changes
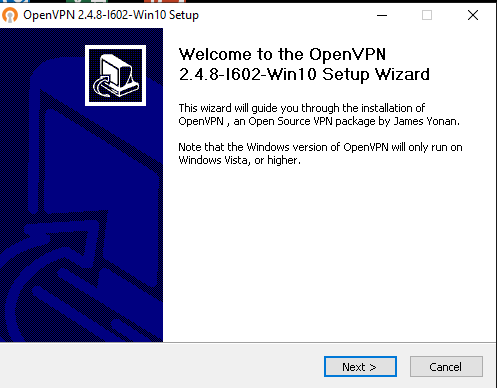
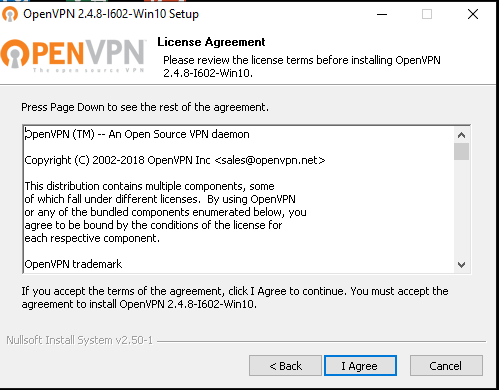
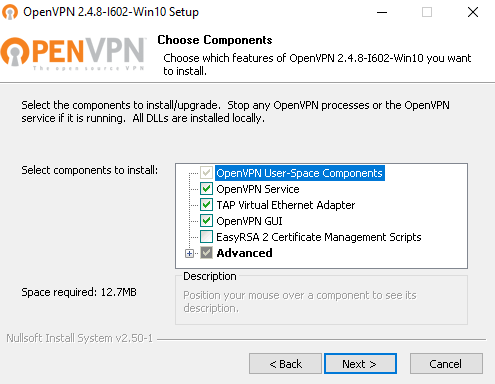
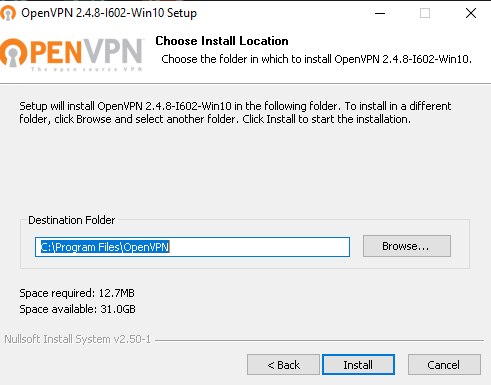
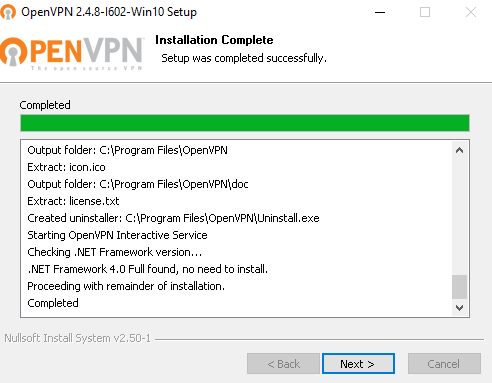
Step 3
1) Accept the default installation options.
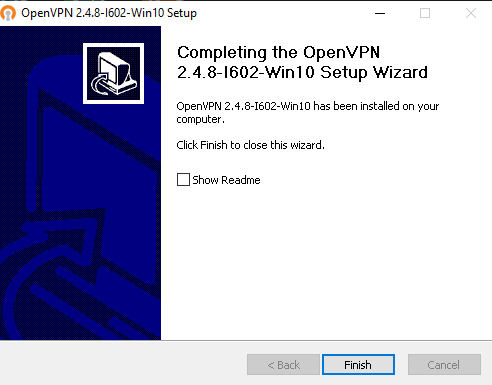
2) Uncheck 'Show ReadMe' and click Finish
Step 4
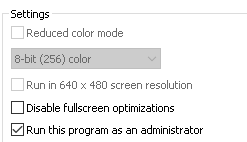
1) Right-click the desktop 'OpenVpn' and go to Properties
3) If the option is visible for ''Change settings for all users', click this button
4) Enable 'Run this program as an administrator'
5) Save the changes
Step 5
Every connection needs a UNIQUE VPN Configuration. Do not deploy the same VPN Configuration to multiple machines, they will conflict and knock each other offline.
3) Click the 'Create VPN Config' button on the lower right-hand corner, under 'Additional Extension Settings'
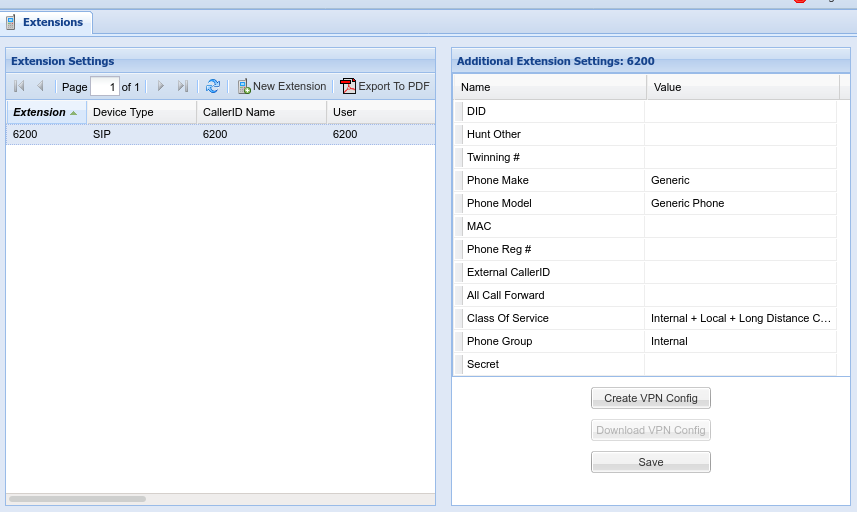
6) Refresh the interface using the Refresh icon located near 'New Extension'

7) Click 'Download VPN Config'
8) The file matching the selected extension will be downloaded. In this example, it will be 6200.zip
Step 6
Deploy the <YourServerName>.ovpn file to the Client machine by placing it in the C:\Programs Files\OpenVPN\config directory on the Client machine.
You will need Administrator privileges to place the file in this location
Step 7
1) Launch OpenVPN
2) Right-click the TaskBar and go to 'Taskbar Settings'
3) Under 'Notification area' choose: 'Select which icons appear on the taskbar'
4) Set OpenVPN GUI for Windows to 'On'
5) Close the settings
Step 8
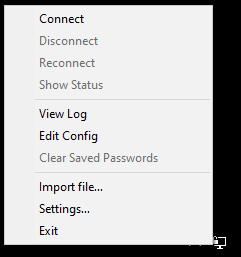
1) Right-click on the OpenVPN GUI Icon in the System Tray. This is the LCD/Monitor Icon with a lock next to it.
2) Click 'Connect'

Step 9
1) Once the VPN is successfully connected. The client IP address should pop up next to the OpenVPN Icon
2) Installation is now completed. The client computer can now access vpn-enabled resources.
3) Assuming there is an associated SoftPhone application to go along with the OpenVPN connection.
Instruct the user to:
1) Start PC
2) Start OpenVPN - Wait for connection
3) Start Soft Phone Application
Troubleshooting
VPN Connection Failure
1) Right Click the OpenVPN Icon, click 'View Log'
2) Send the log to Technical Support
No comments to display
No comments to display