Overview Components
Overview
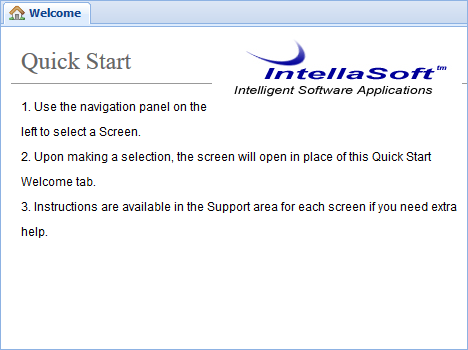
This section includes the absolute minimums of the web portal. You can start by navigating to your organization's URL which will be given to you by your system administrator or Intellasoft representative. Afterwards you will see a login screen. Start by following the instructions below to get familiar with the platform.
Logging In

Top Level Interface Components

 |
 |
| Top bar | The account management bar along the top of the window is used to change your password or logout. |
| Left panel | The navigation panel at the left of the screen is for navigating to different screens within the web portal. |
| Right panel | The content area, filling the majority of the window, will display information and tools based on the selected screen. |
My Account

To change the account password, click on the My Account menu located at the top left corner. Next click the Change password for my account: <username> button.
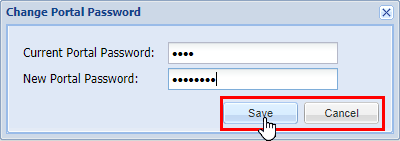
Within the popup, enter your Current Portal Password and New Portal Password. Click Save and there will be a confirmation of Success - Saved password or Invalid current password if the current portal password is incorrect. Click OK to continue.
Logout
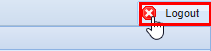
Closing the browser is not enough to be logged out since the Intellasoft Web Portal uses cookies. Remaining idle for an extended period of time may not do the trick either, depending on the specific timeout settings. The best way to logout is to use the Logout button in the upper right-hand corner.
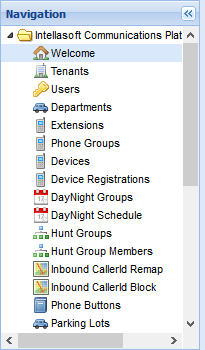
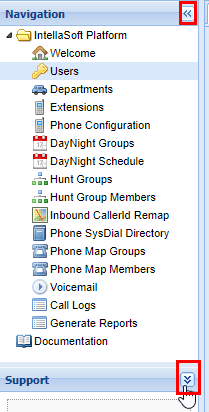
Navigation
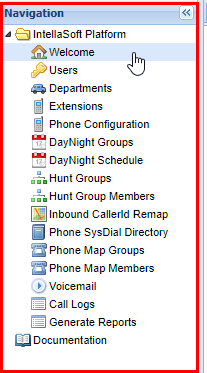
The red box panel on the left is the Navigation. From here you are able to select the various Screens (also called Modules) within the IntellaSoft platform. To select a specific Screen, click on the name you want to access. The subtle difference between Screen and Module is that the screen is the visual component of the exact module on the server. Note that a module may provide features across multiple screens. Anytime the documentation refers to navigating to a screen or module refer to the navigation panel and click the screens' respective name. You will see it highlighted in blue indicating which screen you are currently in.
Screen Content Area


The red box panel on the right is the Screen Content Area which is a Tab Panel. The title of the Screen will be in the tab name.
Screens
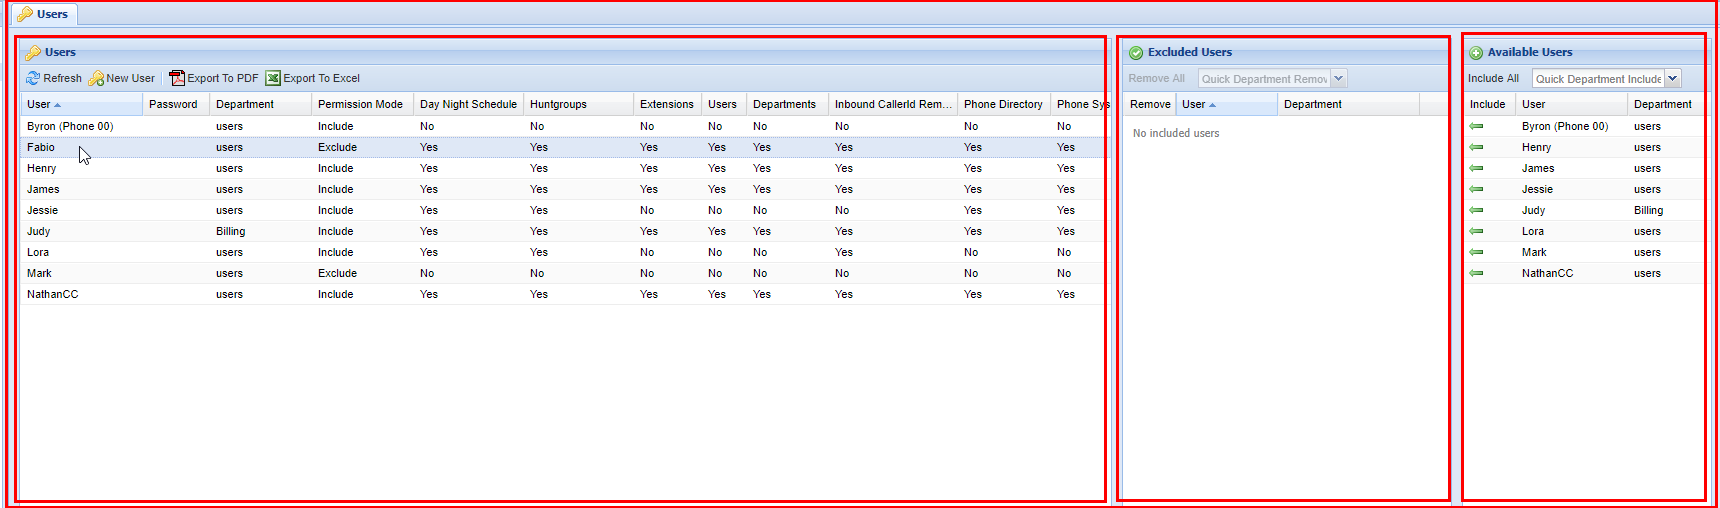
In this example, we have selected the Users Screen. Notice that Users is highlighted within the Navigation Panel. The Screen Content Area now contains the specific Panels for the screen. In this case, the four smaller Panels are all Grid Panels.
Panel Sizer Bar
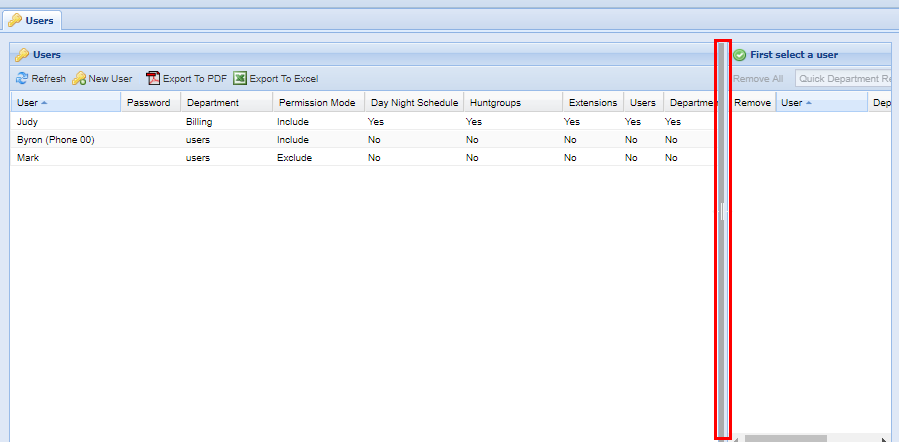
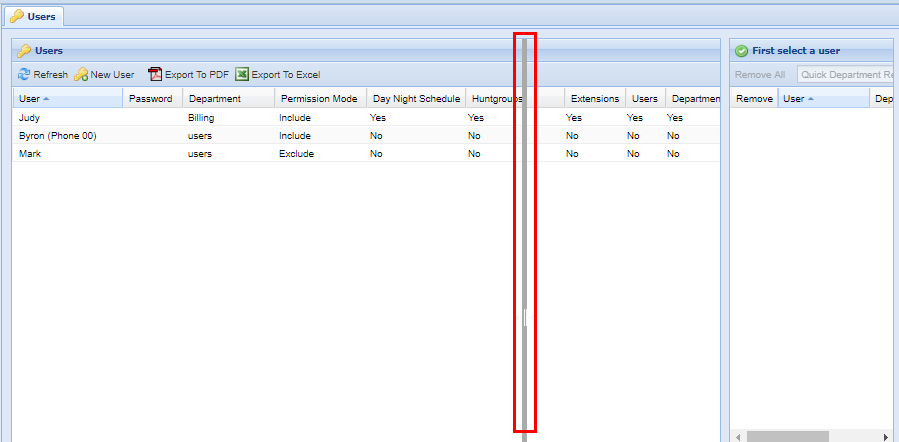
You have the option to resize individual panels within each screen. To do this simply click on the in-between space between panels and drag in the direction to want to resize. Afterwards the panel will be extended right, the opposite works when trying to resize panels to a smaller amount. You can also do this to the height of panels as well.


Panel Tools

Currently, there are not very many Panel Tools implemented, but an example of a Panel Tool is the option to collapse or expand panels, to provide a better view of other Panels. See the example above.
Group Selection
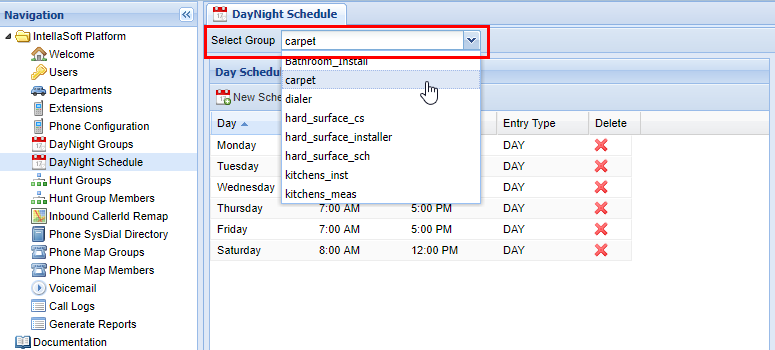
When using some screens such as DayNight Schedule or even Voicemail it is important to note that you have chosen the correct group to modify. This can be done with the Select XXXX (XXXX will depend on the exact screen you are in) function which is located at the top left-hand of the screen.
If you are selecting this screen for the first time since logging in, you will also see a brief message such as the one below indicating that it has auto-selected the 1st group that would be included in the drop-down menu for Select XXXX. This is simply to bring attention to the fact that you may have to change the group to modify the one in question.

No comments to display
No comments to display