ScreenPop User Onboarding
Setting the Extension
If the user is taking over an existing Extension, locate that Extension, double click on the row and then the row will turn into an editable form.


Once the editable form is shown, update the details for the Extension. If the Extension was automatically generated as part of the system setup, the User will have already been assigned, but if not make sure the User matches the Extension.


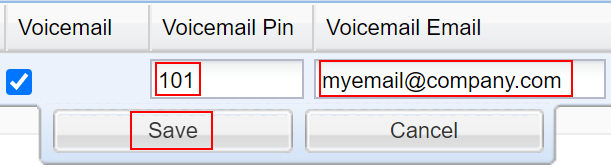
Scroll to the right on the main panel in order to see Voicemail related options.
The Voicemail Email is required for setting up the softphone for screenpops.
Click the Save button below the row once the editing is done.

After the above is saved, the last extensions update is to go to the Additional Extensions Settings on the right hand side of the page.
Scroll down the settings to find the Phone Make and Phone Model.
Set the Phone Make to IntellaPhone and IntellaPhone PC should automatically get set. Then save.

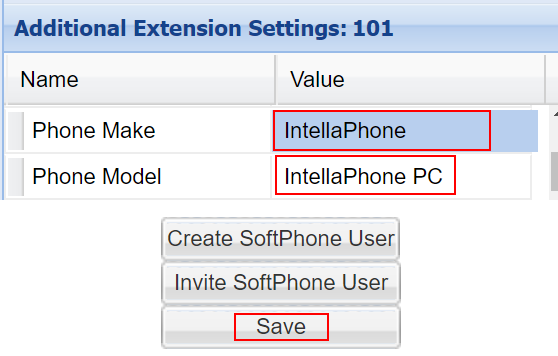
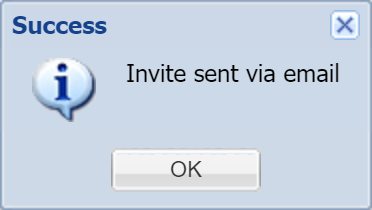
Once saved, click on the Invite Softphone User button. The user can then follow the directions to get their softphone setup → IntellaPhone

Jump to the below section: Setting The Agent.
Creating a New Softphone Extension If Necessary
If the user already has a deskphone and needs a softphone, start by selecting their existing Extension in the grid.
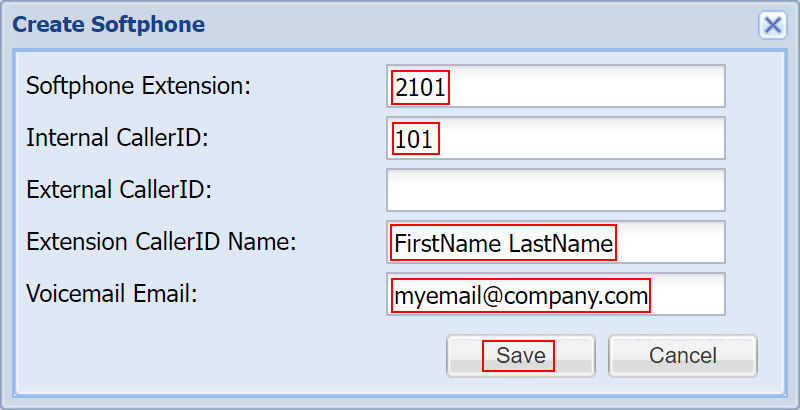
Then click the button Create SoftPhone User

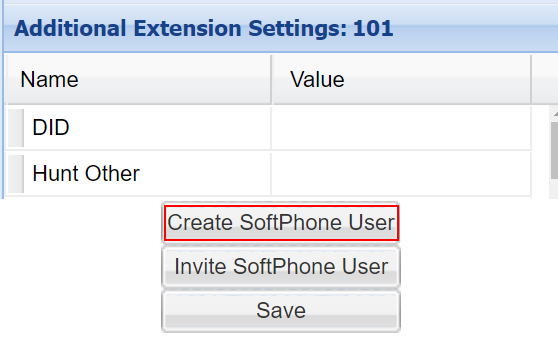
An automatic prefix of 2 is added to the softphone extension.
Everything should auto populate and then click Save

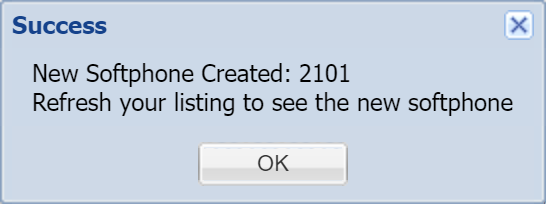
After the system creates the softphone, a success message appears.

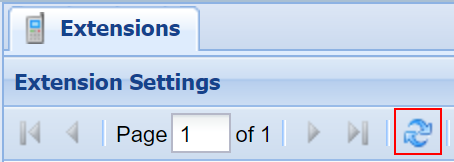
To refresh the grid, click the double arrow Refresh button, then the new softphone will appear in the extensions list

Then follow the same instructions as the top as if it's an existing extension.
Make sure the new softphone extension is selected, edit the row if necessary.
Double check the Additional Extension Settings, Phone Make & Model that they are set to IntellaPhone.
Once everything is updated and saved, proceed with the same Invite Softphone User.
The user can then follow the directions to get their softphone setup → IntellaPhone
Setting the Agent

The Quick Search can be used to check if the Agent has already been added to the system.


If not found, click New Agent button and a form will be shown. Populate all of the highlighted fields below and then save the new Agent. Keep in mind as a best practice to ensure that agents have a unique Agent Pin number for their logins.


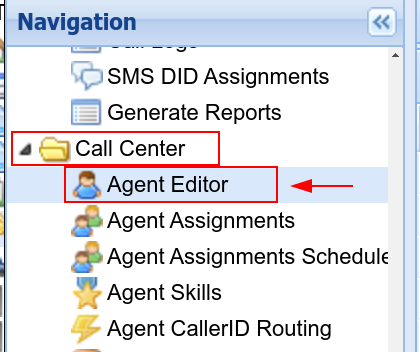
Next, using the left navigation sidebar, navigate to Agent Allocations


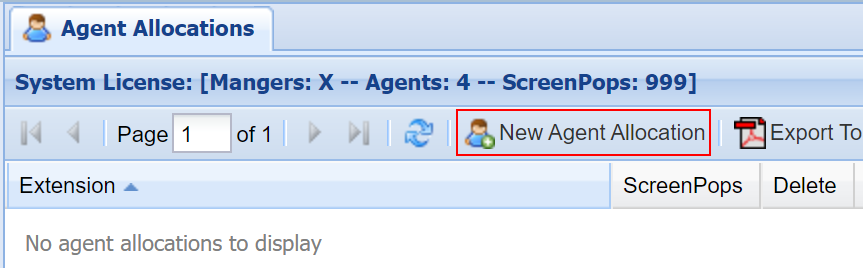
If you have no Agent Allocations, click the New Agent Allocation button and a form will be shown.

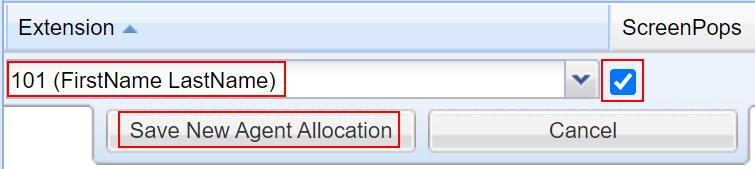
Populate the highlighted fields and then save the new Agent Allocation. ScreenPops checkbox is required for the agent to receive screen pops.

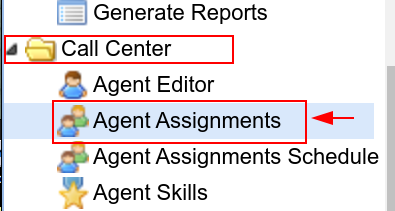
Now that the Agent is in the system, using the left navigation sidebar, navigate to Agent Assignments

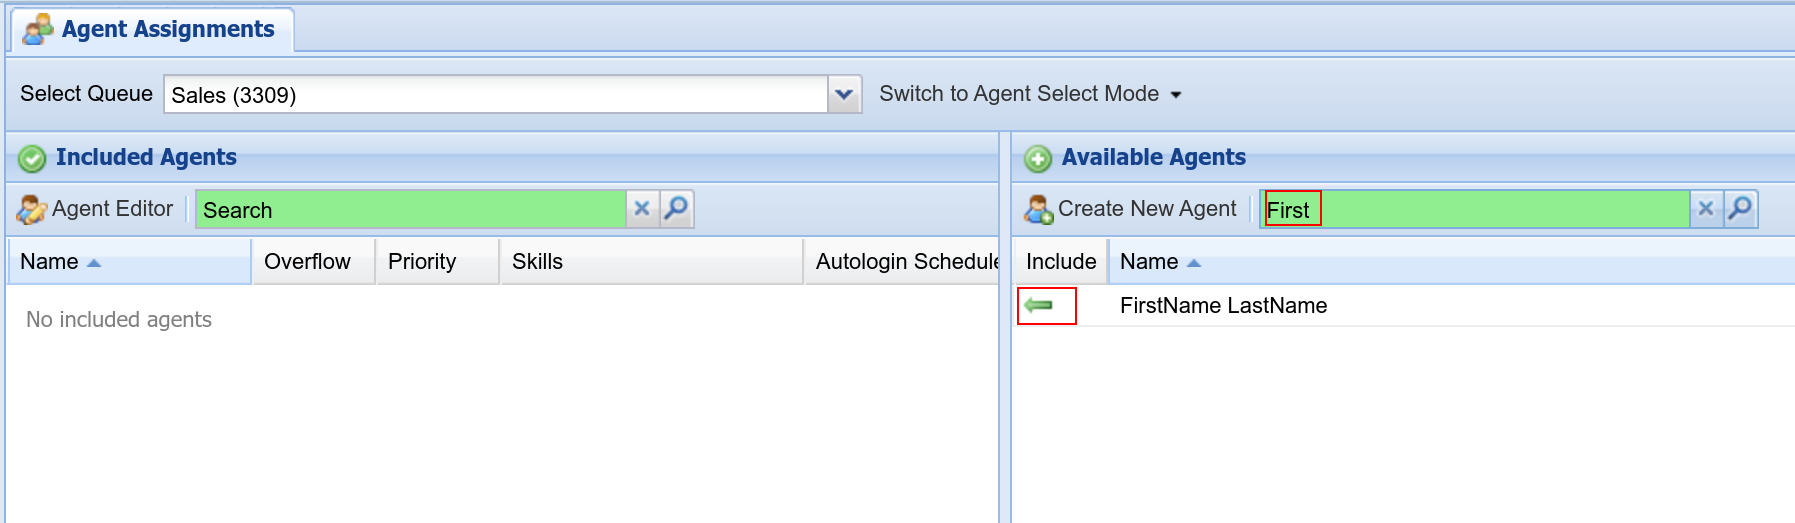
First, use the Select Queue list selector on the top.
The Quick Search on the right can be useful to locate the new Agent, and then use the green left arrow to add the chosen agent to the Queue.

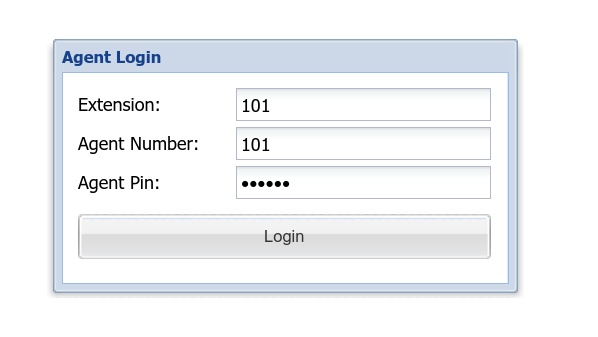
Lastly, test the new login by going to the Toolbar URL specifically for your system and then logging in with this Extension/Agent Number/Agent Pin

Setting a Manager
If there is a need for a User to be able to look at Call History and Call Recordings, then they will need to have a Portal Account (which is different than the Agent Login that's covered above).
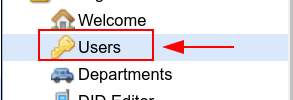
Using the left side navigation sidebar, navigate to Users

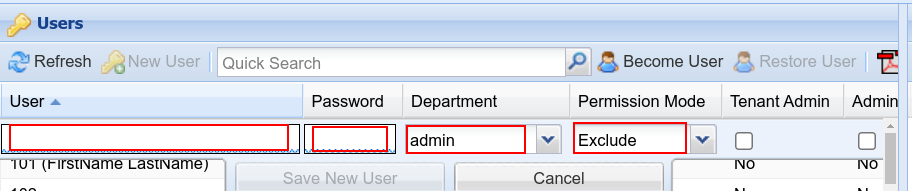
Then on the center panel, use the New User button to create a new User.
Use the Quick Search to determine if there already is a User for this person.


In order for a User to have access to all Calls, they will need the following set:
Department: admin
Permission Mode: Exclude
Permissions: Call Logs, Call Recordings, Call Recordings Other
Make sure that User and Password are both set in the row editor form, as well as Department, otherwise the User cannot yet be saved

Scrolling over to the right will be required in order to set the necessary permissions.


There are many possible combinations of access available, including access that restricts users to certain calls. The above is the simplest way to give a user access to all calls in the system.