OpenVPN Installation - Windows 7 and Windows 10
Step 1
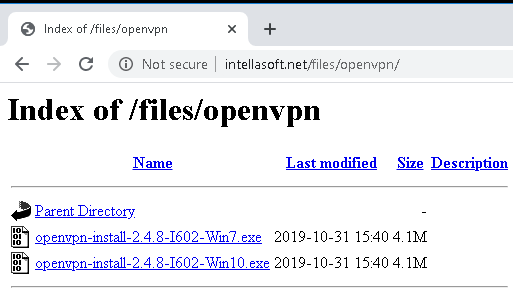
Step 1)
-2) Select the installer for your system (Win7 or Win10)
Step 2
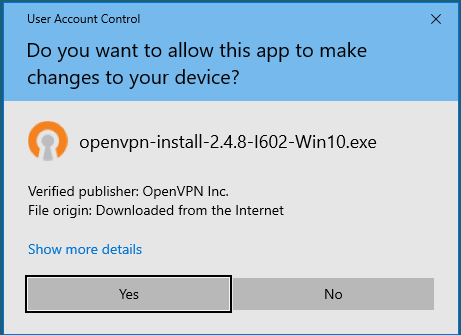
Step 2)
-1) Run the installer
-2) Accept the system changes
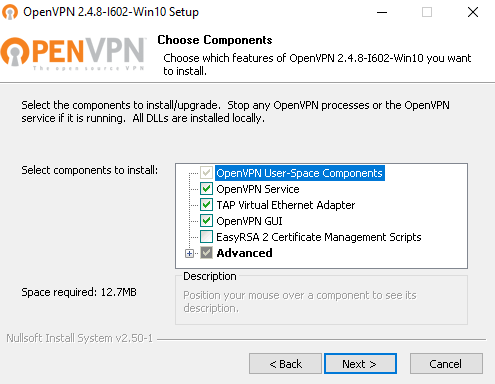
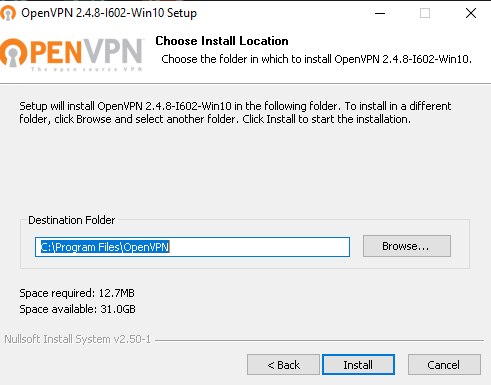
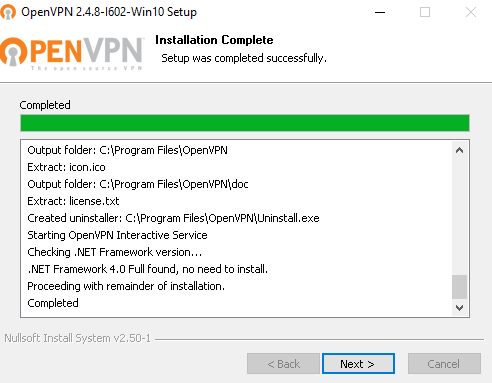
Step 3
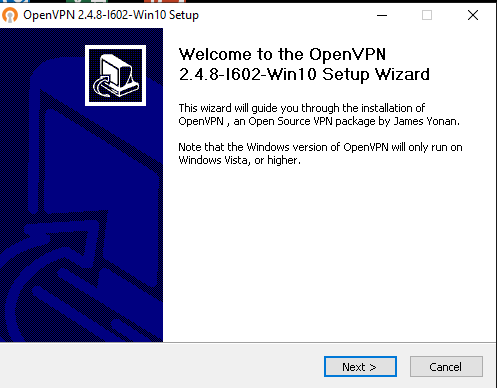
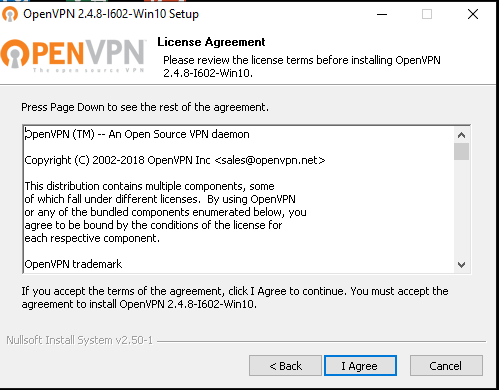
Step 3)
Accept the default installation options.
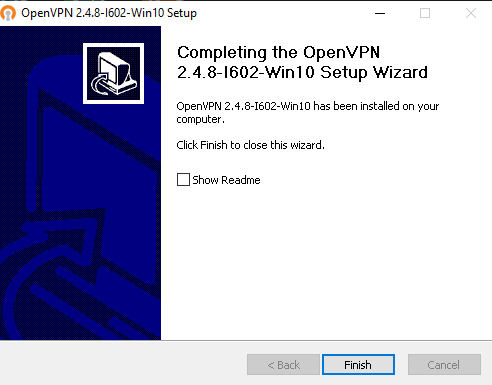
-2) Uncheck 'Show ReadMe' and click Finish
Step 4
Step 4)
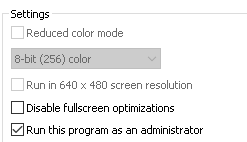
- Right Right-click the desktop 'OpenVpn' and go to Properties
-3) If the option is visible for ''Change settings for all users', click this button
-4) Enable 'Run this program as an administrator'
-5) Save the changes
Step 5
Step 5)
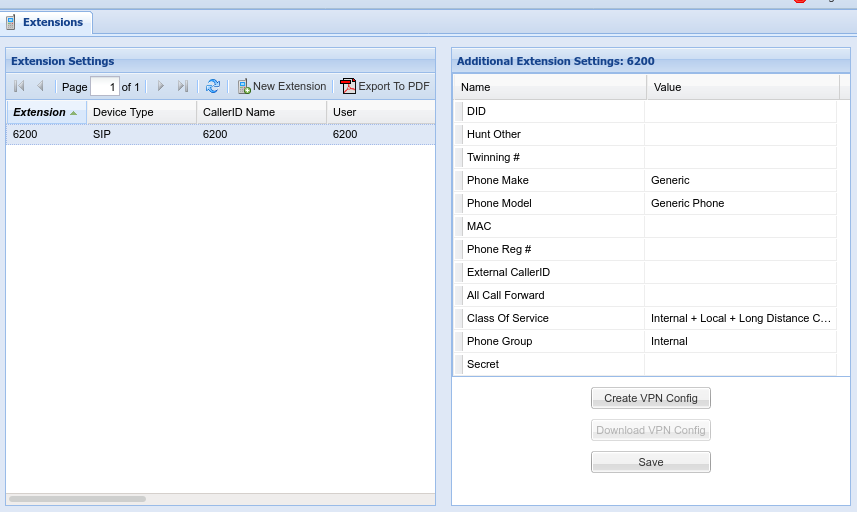
- !!! WARNING. Every connection needs a UNIQUE VPN Configuration. Do not deploy the same VPN Configuration to multiple machines, they will conflict and knock each other offline.
-3) Click the 'Create VPN Config' button on the lower right right-hand corner, under 'Additional Extension Settings'
Step 5 Continued)
-6) Refresh the interface using the Refresh icon located near 'New Extension'

Step 5 Continued)
-7) Click 'Download VPN Config'
-8) The file matching the selected extension will be downloaded. In this example, it will be 6200.zip
Step 6
Step 6)
- Deploy the <YourServerName>.ovpn file to the Client machine
by placing toit thisin directory:
C:\Programs Files\OpenVPN\config directory on the Client machine.
- You will need Administrator privligesprivileges to deployplace thisthe file in this location
Step 7
Step 7)
-1) Launch OpenVPN
-2) Right Right-click the TaskBar and go to 'Taskbar Settings'
-3) Under 'Notification area' choose: 'Select which icons appear on the taskbar'
-4) Set OpenVPN GUI for Windows to 'On'
-5) Close the settings
Step 8
Step 8)
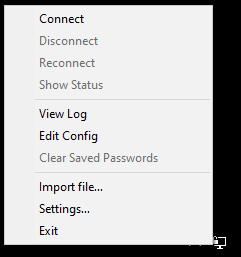
- Right Right-click on the OpenVPN GUI Icon in the System Tray. This is the LCD/Monitor Icon with a lock next to it.
-2) Click 'Connect'

Step 9
Step 9)
-1) Once the VPN is successfully connected. The client IP address should pop up next to the OpenVPN Icon
Step 10)
-2) Installation is now completed. The client computer can now access vpn-enabled resources.
-3) Assuming there is an associated SoftPhone application to go along with the OpenVPN connectionconnection.
Instruct the user to:
Instruct the user:
1) Start PC
2) Start OpenVPN - Wait for connection
3) Start Soft Phone Application
Troubleshooting
Troubleshooting
-
VPN Connection Failure:Failure
1) Right Click the OpenVPN Icon, click 'View Log'
-2) Send the log to Technical Support